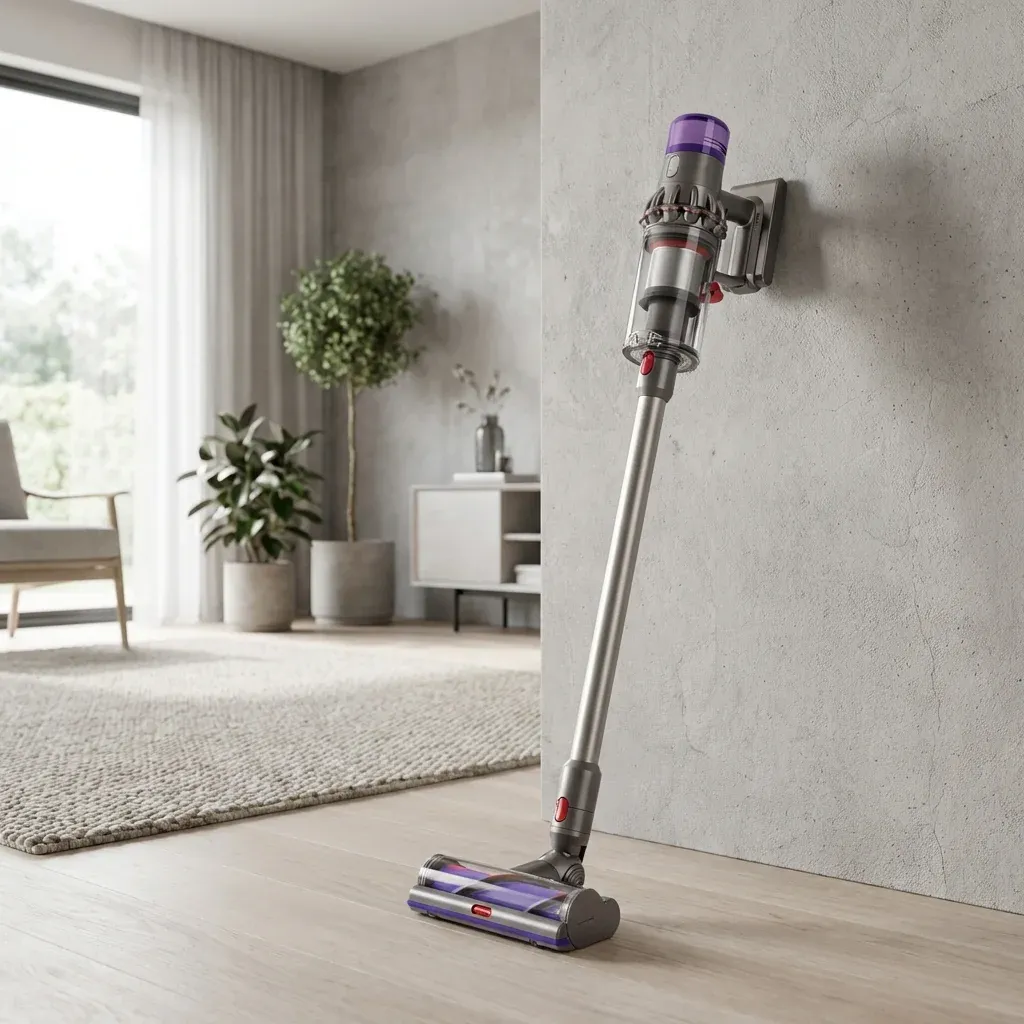
If your V11 isn't holding a charge, it's time for a swap. We clarify the difference between 'Click-in' and 'Screw-in' batteries and guide you through the replacement process.
If your Dyson V11 is pulsing, flashing a red light, or simply not lasting as long as it used to, it’s likely time for a new battery. Dyson batteries technically last a few years, but they degrade over time.
If your V11 isn’t holding a charge, it’s time for a swap. We clarify the difference between ‘Click-in’ and ‘Screw-in’ batteries and guide you through the replacement process.
- Symptoms: short runtime, won’t charge, no power, flashing red light
- Tools: Phillips #2 screwdriver
- Difficulty: Medium
Changing the battery on a V11 is straightforward, but there is one catch: you need to know if you have a Click-in or a Screw-in model.
Step 1: Identify Your Battery Type
Before buying a replacement, look at where the battery meets the handle.
Dyson V11 Filter Cleaning: The 24-Hour Drying Rule
- Click-in Battery: Has a large red button. You simply press it to release the battery. No tools needed.
- Screw-in Battery: Has no buttons. It is held in place by three screws. This guide focuses on the Screw-in model as it requires more work.
Tools You Need
Unlike older Dysons, you only need one tool for this job.
Step 2: Remove the Old Battery
If you have the screw-in model, there are three specific screws you need to remove.
- Unplug the charger: Never work on a vacuum that is plugged in.
- Remove the Wand: Press the red release button to detach the long cleaning wand.
- Locate Screw #1: Look at the back of the handle, right where your palm rests. Remove the small screw there.
- Locate Screws #2 and #3: Press the red bin release lever to slide the dust bin down (opening it). Look on the underside of the main unit, near the battery. You will see two screws holding the battery front in place. Remove them.
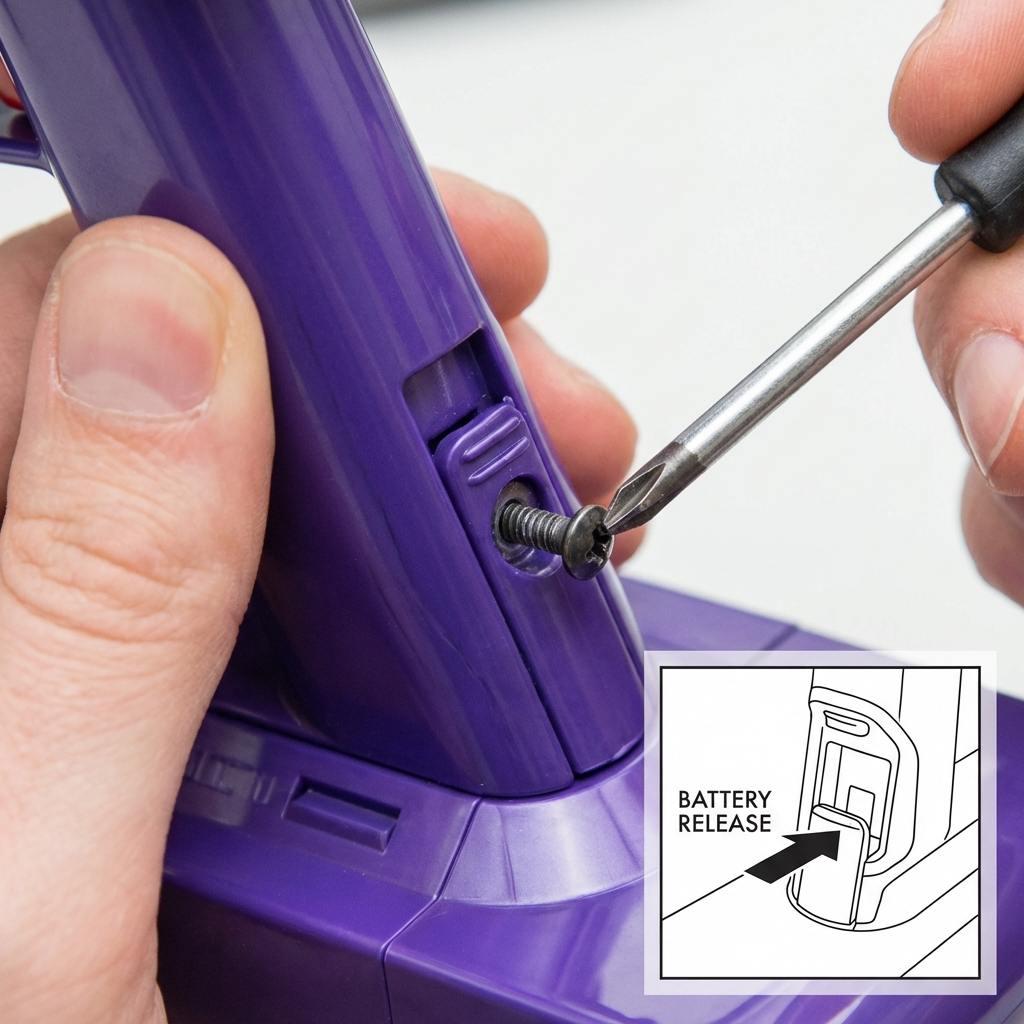 Figure 1: Accessing the hidden screws requiring the dust bin to be open.
- Pull Down: The battery should now slide out of the handle downwards.
Step 3: Install the New Battery
- Slide it in: Push the new battery up into the handle until it clicks or sits flush.
- Secure the Screws: Replace the two screws under the battery first, then the one in the back of the handle.
- Do not overtighten: Just tighten them until they stop. Plastic can crack if you force it.
Checking Your Work
- Charge it first: New batteries usually come with a 20% charge. Plug it in and charge it to 100% before your first big clean.
- Test the trigger: Once charged, squeeze the trigger. The motor should sound strong and consistent.